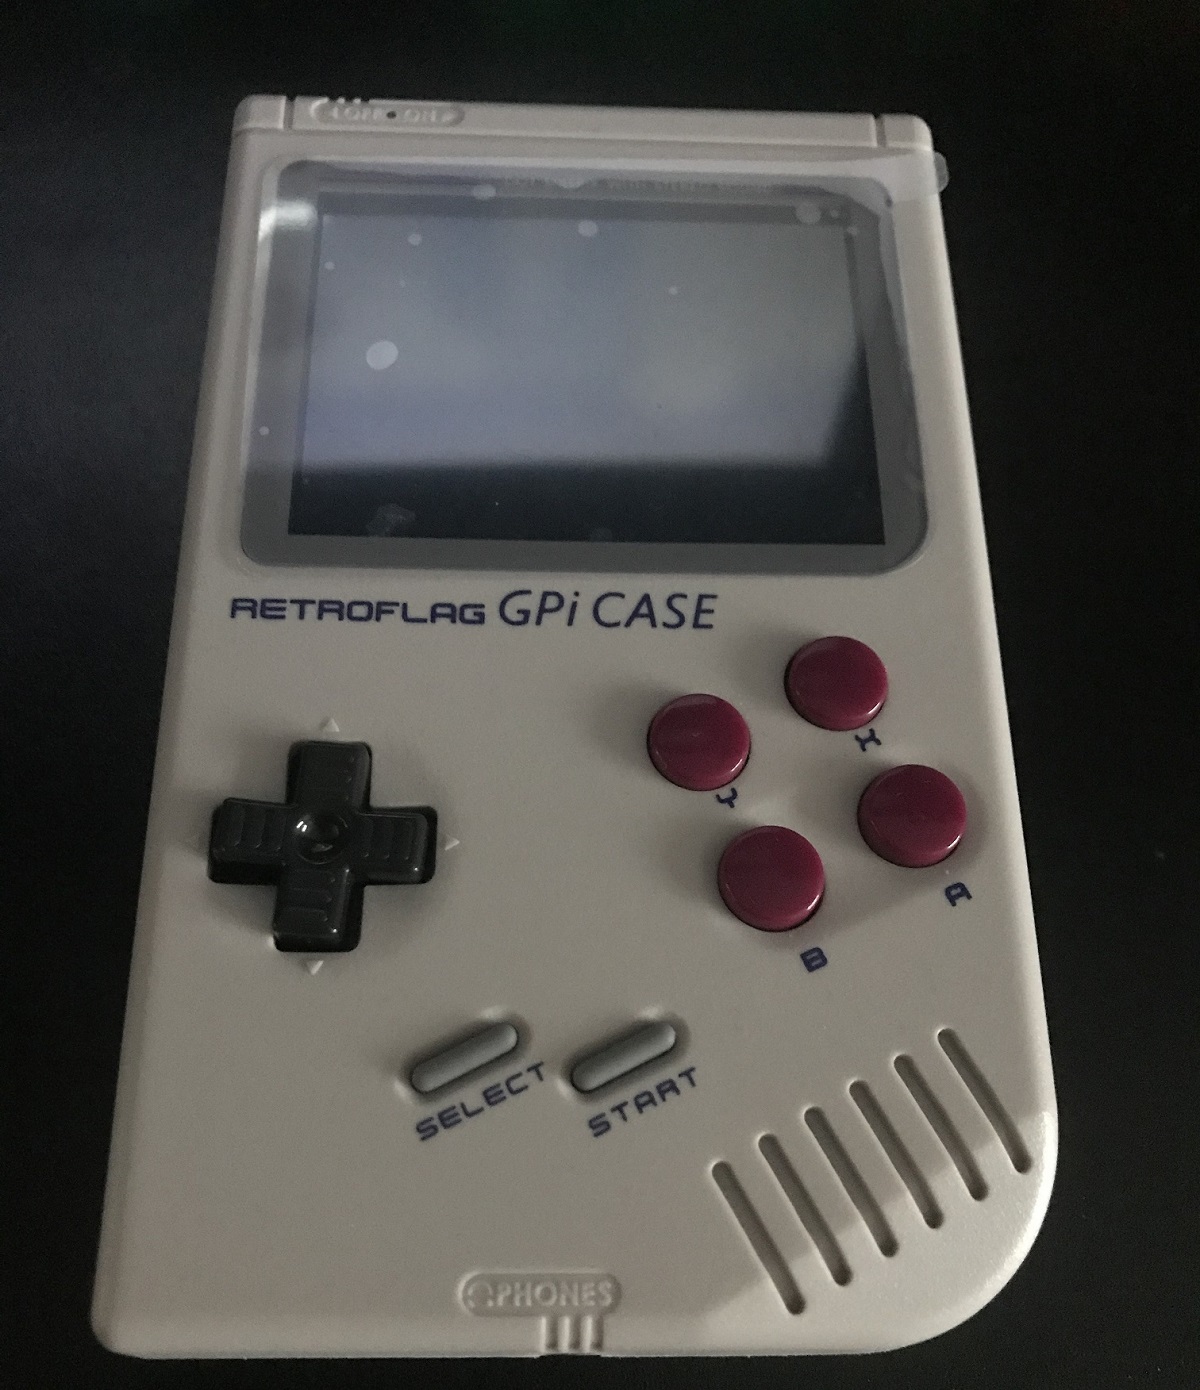
Making a Gameboy with a Raspberry Pi Zero W and GPi case
retro gaming, raspberry pi zero ·This custom Gameboy can play all the classics and even has a backlight :)
Hardware you’ll need:
- GPi CASE
- Raspberry Pi Zero W (make sure you get the one without the pre-soldered header otherwise it won’t fit inside the cartridge)
- Micro SD Card, I’d recommend at least 8GB
- Micro SD card reader
- 3 x AA battery
Software you’ll need:
Assemble your GPi case
Follow the GPi case assembly instructions here and then proceed to the next step.
Download RetroPie
Make sure to download the Raspberry Pi 0/1 version
Download GPi case patch
Flash SD card
- Insert your SD card into your computer
- Open Etcher
- Select
Flash from file - Select the Retropie img.gz that you downloaded in step 2
- Select
Select target - Select your Micro SD card
- Finally, select
Flash!
Once your SD card has been flashed it will be ejected. Re-insert your SD card reader into your computer to mount it as mass storage for the next step.
Configure WiFi
WiFi will allow you to easily drag-and-drop ROMs from your computer to your Gameboy.
- Open your SD card in file File Explorer, it was named BOOT for me
- In the root folder create a file called wifikeyfile.txt and add the following information into the file:
ssid="NETWORK_NAME" psk="NETWORK_PASSWORD" - Replace
NETWORK_NAMEandNETWORK_PASSWORDwith your home network name and WiFi password
Add patch
- Unzip
GPi_Case_patch.zip. You’ll find a folder calledGPi_Case_patchand areadme.txt - Copy the
GPi_Case_patchto the root of your SD card - Go inside the
GPi_Case_patchfolder on your SD card and runinstall_patch.bat - Safely eject your SD card, insert it into your gameboy cartridge, insert your batteries, and switch that bad boy on
Set up controls
- Once booted you’ll be prompted to configure each button on your case. Retropie supports a plethora of systems so skip the buttons you don’t need by holding down any button
Tip: I configure the two rear buttons to left and right shoulder so I can also play Gameboy Advance games
Enable WiFi
- Select
WiFion the configuration menu - You’ll be asked whether you want to launch raspi-config to set your country, select
Yes - Press the down arrow several times until you get to
Localisation - Press the right arrow to highlight
Select - Press
(B) - Select
WLAN countryin the same way you did with localisation - Now select your country from the list in the same way
- Once you’ve set your WLAN country you can select
Finish - You’ll be asked whether you want to reboot, select
Yes - Once rebooted, select
(A)to go into configuration - Select
WiFiagain - Select
3. Import WiFi credentials from…– if your credentials were successfully imported you should see that your IP address has been populated - Select
Exitto go back to the configuration menu
Enable SSH
We enable SSH so we can change the default password for the pi and also install the safe shutdown script remotely.
On the configuration menu:
- Select
raspi-config - Select
interface options - Select
P2 SSH - You’ll be shown a warning, select
Yes - Select
Ok - Select
Finish
Configure security
We should change the default password on your Raspberry Pi just to be safe.
- Select
WiFion the configuration menu so you can view the Gameboy’s IP address - Open PuTTY on your PC
- Set the Host Name as the IP shown on your Gameboy
- Click Open
- Accept the warning
- Login as the user:
pi - Enter the password:
raspberry - Once you’re in type:
passwdFollow the onscreen instructions to update your password
Install safe shutdown patch
Run:
wget -O - "https://raw.githubusercontent.com/RetroFlag/retroflag-picase/master/install_gpi.sh" | sudo bash
Once the script has finished installing your SSH session will end and your Gameboy will reboot.
Disable SSH
We don’t really need SSH enabled now we have installed the safe shutdown script.
- Once the Gameboy has rebooted go to the configuration menu
- Select
raspi-config - Select
interface options - Select
SSH - Select
No - Select
Ok - Select
Finish
Enable safe shutdown
- Press
Start - Select
Quit - Select
Shutdown System - Select
Yesto confirm - Flick the power switch off and pop the batteries out once the device is off
- Switch the safe shutdown switch to ON. This switch is located underneath where the batteries go
This will now safely shutdown the device when you flick the power switch instead of having to go to the configuration menu to shutdown safely each time.
Install ROMs
- Switch your Gameboy back on
- Go to
\\retropie\romsin the File Explorer on your PC and you’ll be greeted with folders for all the different systems that Retropie supports. The ones you’ll be mostly interested in aregb,gba, andgbc. These stand for gameboy, gameboy advance, and gameboy color - Drop your ROMs into the correct device folders
- Reboot
Phew, we made it! :) Now go play Mother 3